
Good makeup results depend a lot on the brushes used. Having a solid set of makeup brushes opens up more ways to apply products cleanly and evenly. The right brush helps to blend foundation, sweep on eyeshadow, define brows, or highlight cheeks. Brushes also make the process faster and more enjoyable. Understanding how many types there are, the best cleaning methods, and how to store them keeps your tools in great shape and helps avoid skin problems.
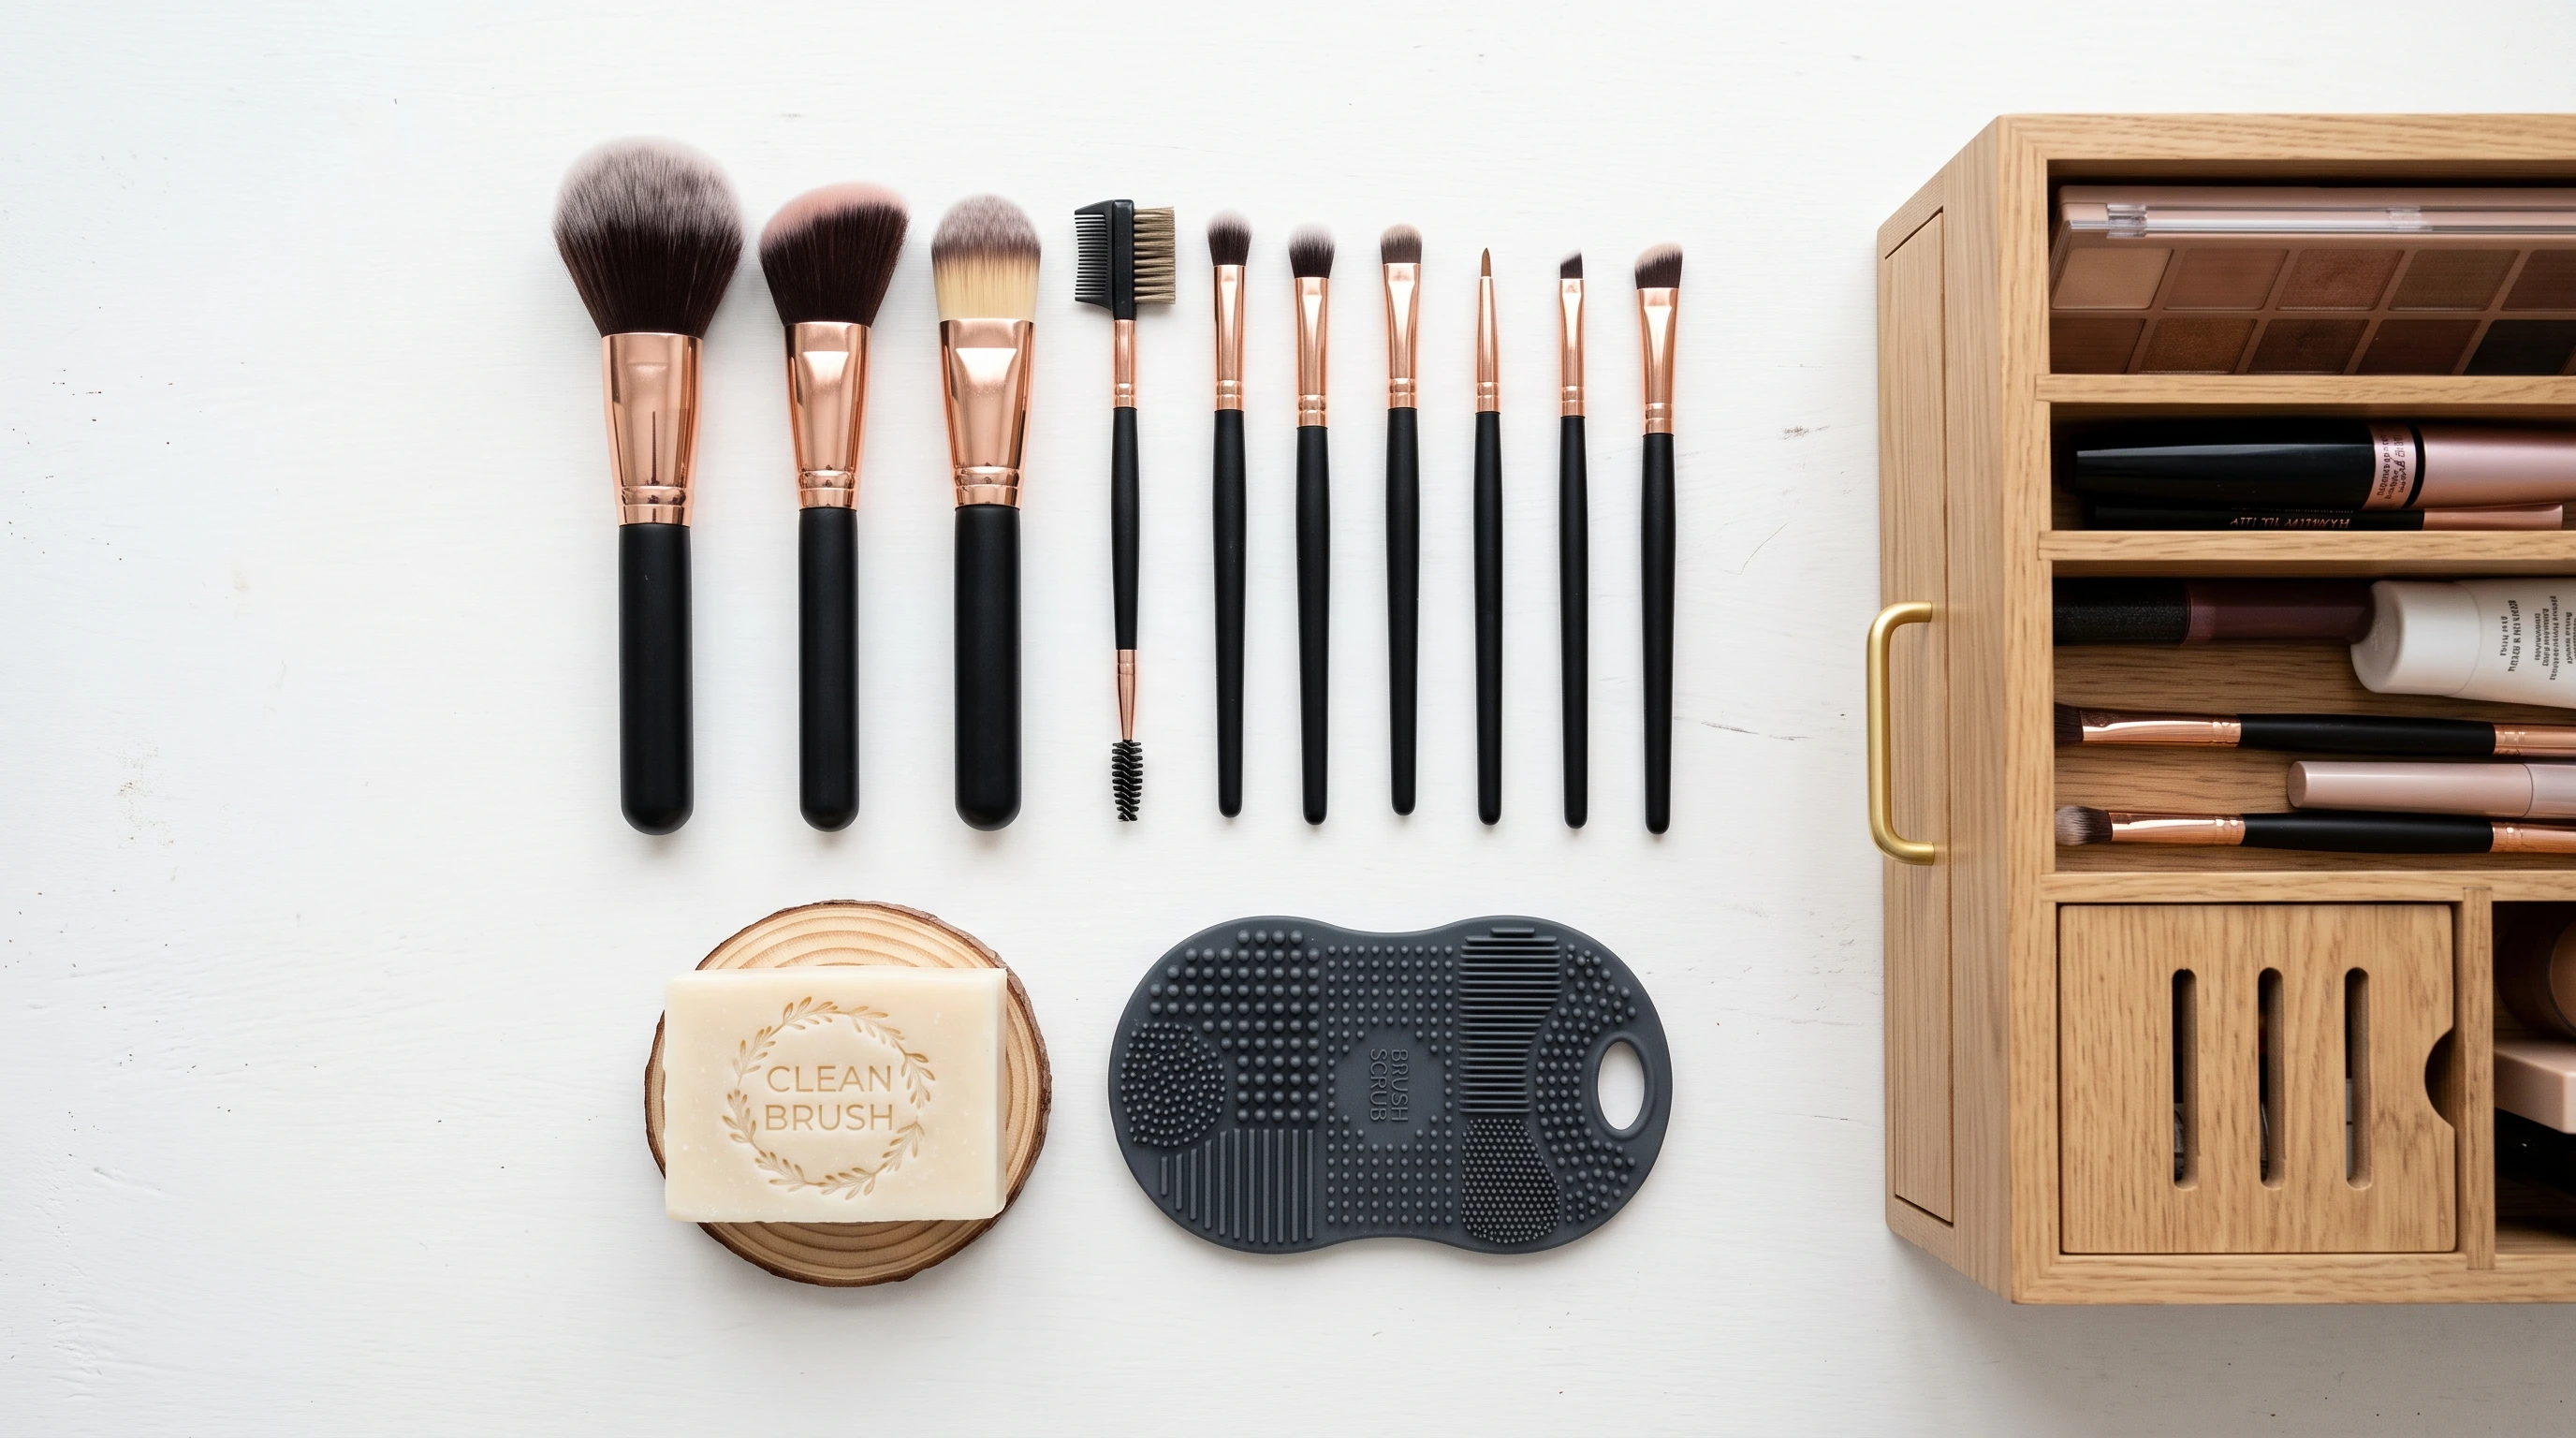
Types of Makeup Brushes and How To Use Them
Each makeup brush is designed for a different job. With the huge selection out there, it sometimes feel confusing to decide which ones are useful. In the list below are some of the most basic and useful brushes to use:
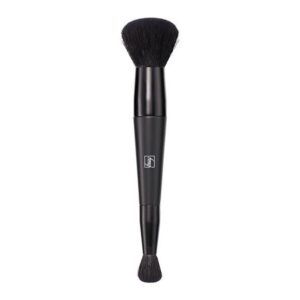
- Complexion Blending Brush: This brush has a dense rounded foundation brush on one end and also a smaller precise concealer brush on the other end.
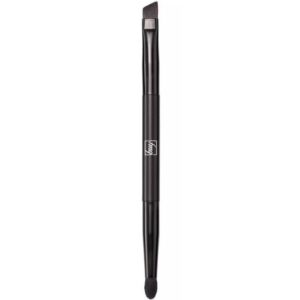
- Precision Eye Brush: This brush has an angled eyeliner brush on one end, and a pointed brush on the other end for highlighting the inner corners of the eye.
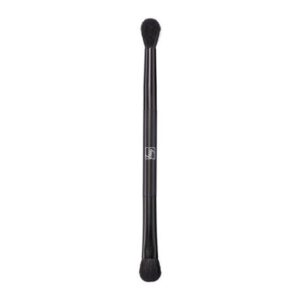
- Eyeshadow Blending Brush: This brush has a domed shaped brush on one end for applying eyeshadow into the crease of the eye, and a flattened eyeshadow brush for allover eyeshadow application.
- Blush & Contour Brush: For adding color and dimension to the face, this brush has a large angled brush on one end, and also an oval brush on the other end.
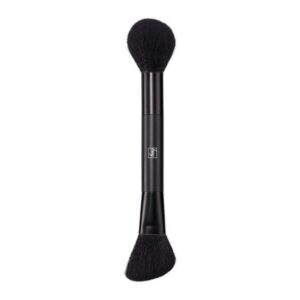
While there are even more specialty brushes available, starting with these main brushes covers almost every makeup step that most people need, whether they aim for a natural everyday style or get into creative looks. Over time, you can build a set that is just right for your habits and for your favorite products.
Why Cleaning Makeup Brushes Matters
Sometimes, people skip cleaning their brushes if they’re in a rush or think it’s not a big deal. However, regular cleaning does matter a lot, not just for makeup results but for healthy skin too. Over time, brushes collect tiny bits of makeup, natural oils and fats from the skin, dead skin cells, and dust from the air. This mess can create a perfect breeding ground for bacteria.
When reusing dirty brushes, these older oils, bacteria, and leftover makeup get pushed around on the skin. This can clog pores, trigger sensitivities, or even cause breakouts and infections. For anyone with sensitive skin, skipping this step can worsen reactions. It’s really important to keep brushes clean to avoid these problems, and to keep makeup application fresh.
How Often Should I Clean Makeup Brushes?
How often brushes should be cleaned can change based on how often they are used. Brushes used for liquid or cream products, like foundation or concealer, build up faster and collect more bacteria. These should be washed at least once a week. For powder based brushes (like for blush or eyeshadow), washing every one to two weeks may be sufficient. If your skin is sensitive or acne prone, washing more often is helpful.
Brushes used for eye makeup or lips should also be washed weekly, especially since these areas are more prone to infections. For quick touch-ups in between deep cleans, a spray brush cleaner may be used and then gently wiped off on a clean towel, but nothing replaces a good wash with soap and water. Creating a simple and regular cleaning schedule means brushes stay fresh, and helps to prevent forgetting to clean them.
How to Properly Clean Makeup Brushes
Here is a simple step-by-step process to keep your brushes in top shape:
- Wet the Bristles: Hold the brush bristles down under lukewarm running water. IAvoid getting the area where the handle meets the bristles too wet, since water can weaken the glue and cause shedding.
- Add Soap: Gently massage a drop or two of gentle glycerin soap or baby shampoo directly onto the damp bristles. Regular hand soap can be too harsh and drying over time.
- Work Up a Lather: Swirl the brush on the palm of your hand, or on a silicone brush cleaning pad. (see the next sub title for more information on using silicone brush cleaning pads). The pad’s textured surface helps loosen up old makeup, oil, and debris caught deep in the brush.
- Rinse Thoroughly: Rinse under lukewarm water until it runs clear and there’s no soapy film left. This can take a little time, but making sure there’s no soap left is important for skin safety.
- Repeat if Needed: For very dirty brushes, repeat the process until the water finally runs clear.
Why Use Silicone Brush Cleaning Pads?
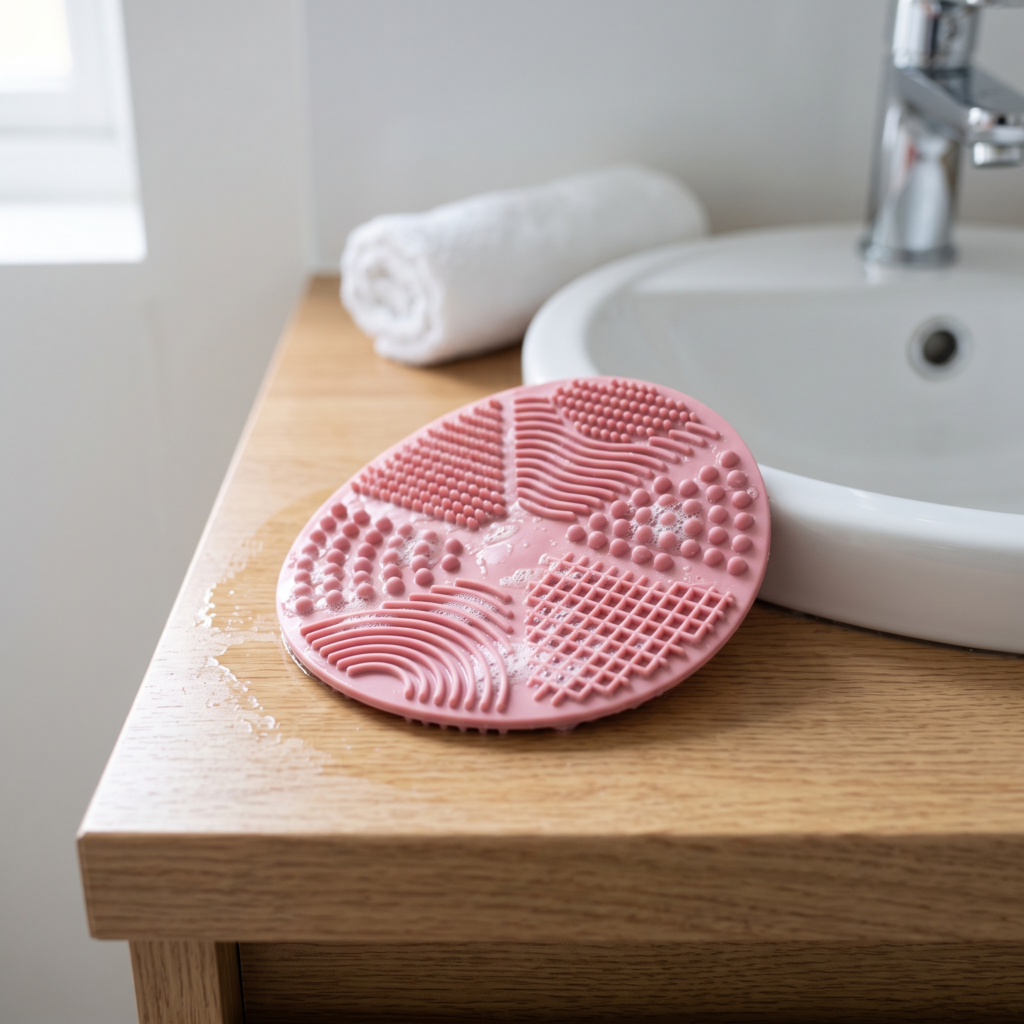
Silicone brush cleaning pads can really help break up stubborn products stuck inside the bristles. The textures and ridges scrub gently but thoroughly. They also save time, especially when cleaning several brushes in a row. A pad’s surface gets all around the brush, cleaning faster and more completely than your hand would alone, and the silicone pad is easy to rinse off afterward.
How to Dry Makeup Brushes After Cleaning
After rinsing, it can be tempting to stand brushes upright in a cup, but this lets water run down into the ferrule (the metal part holding the bristles), which can loosen glue and cause bristles to fall out. It is better to gently squeeze out the extra water with a clean towel, and then reshape each brush head to its original shape.
Lay your brushes flat on a towel, making sure the bristles hang over the edge of the counter or table, so that they dry evenly and keep their shape. Air drying takes a few hours, sometimes even overnight for dense or large brushes. Always make sure that brushes are completely dry before putting them away, so no dampness lingers inside the bristles, as that can lead to mold or musty smells.
For those in a hurry, avoid trying to speed things up with a hairdryer or heater. Direct heat can harm the glue and bristles, shortening the life of your brushes. Patience pays off when it comes to drying, keeping your brushes performing for months and even years.
Storing Makeup Brushes To Keep Them Fresh
Storing brushes the right way keeps them clean and holds their shape longer. Once dry, then you may stand brushes upright in an open cup or jar so the bristles can air out.
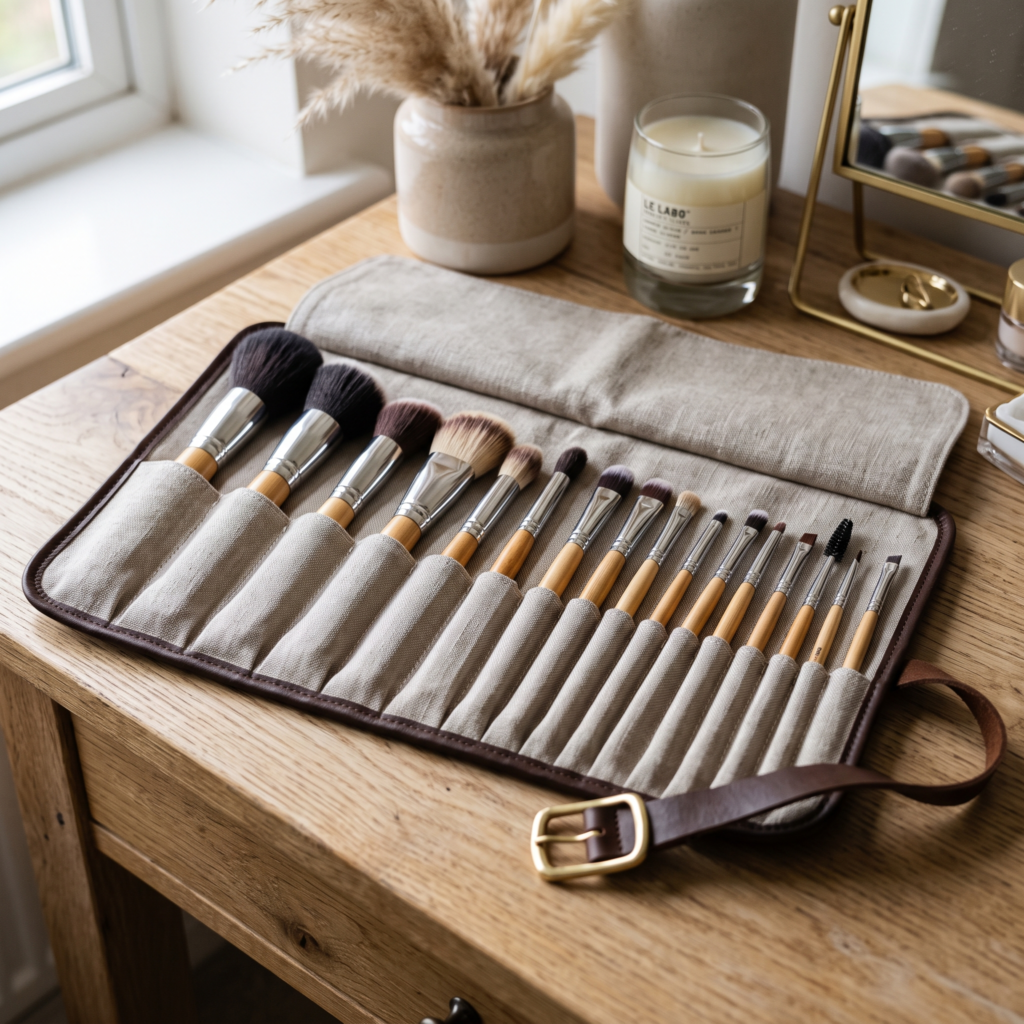
For large brush sets, a brush roll or rollup bag with individual slots keeps each one separate and helps protect the bristles from getting bent or dusty and protects them from air pollution or pet hair that may be floating around in the air. Whenever possible, give your brushes a gentle fluff once they’ve been stored for long periods to keep the bristles soft and ready to use.
Tips For Keeping My Brushes Performing Like New
- Only Use Brushes for their Purpose: Keep seperate brushes for powders, creams, and liquid formulas. Using them on different products makes them harder to clean and can shorten their lifespan.
- Replace When Needed: If a brush starts shedding a lot, losing its shape, or just doesn’t feel soft anymore, it might be time to replace it.
It also helps to glance at the brush handles for any cracks or splitting, and to spot any odd smells that could mean bacteria buildup. A quick wipe down of the handles with a gentle disinfectant now and then is also helpful for overall hygiene.
Frequently Asked Questions About Makeup Brushes
Question: Can I clean brushes with just water?
Answer: Water alone will rinse some powder away, but won’t break down oils, fats, and bacteria. Soap is essential for keeping them truly fresh and clean for you skin.
Question: Is sharing makeup brushes safe?
Answer: Sharing brushes isn’t a great idea, since it can spread bacteria and increase the risk of breakouts or infections. Keep your tools personal, especially for brushes that are used on the eyes and mouth.
Question: Can I use dish soap or alcohol to clean makeup brushes?
Answer: Dish soap or alcohol can be tough on delicate brush hairs and dry them out over time. Always stick to gentle soap or a special brush cleanser.
Building Healthy Brush Habits
Taking the time to clean and look after your brushes means smoother makeup, longer lasting tools, and healthier skin. Whenever your brushes feel soft, clean, and ready for use, makeup always seems to go on better. A little extra effort helps skin avoid irritation. If you’ve never set up a brush care routine, there’s no time like now to jump in— your skin and makeup results will thank you in the long run.